As I neared the end of Hollow Knight: Silksong, I found myself chasing the last of the three melodies needed to reach The Cradle. And of course, it was the Conductor's Melody that stood between me and the finale. Getting there meant surviving the High Halls and one of the most brutal enemy wave arenas I've ever faced—harder, in my opinion, than most dedicated boss fights in the game. So here's how I did it.
Accessing the High Halls
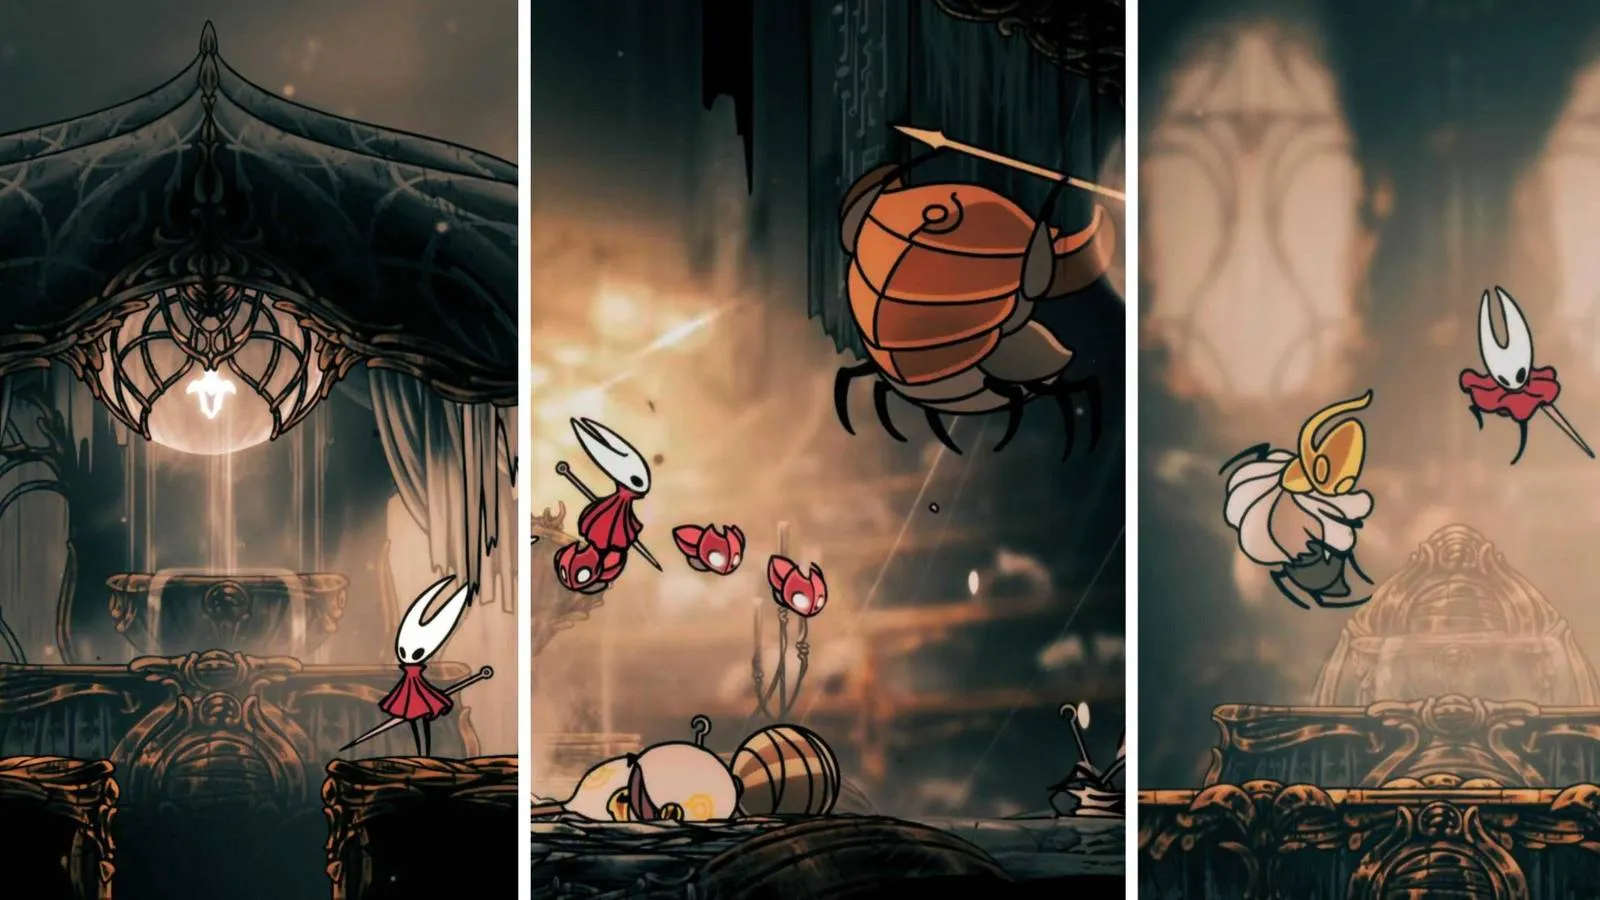
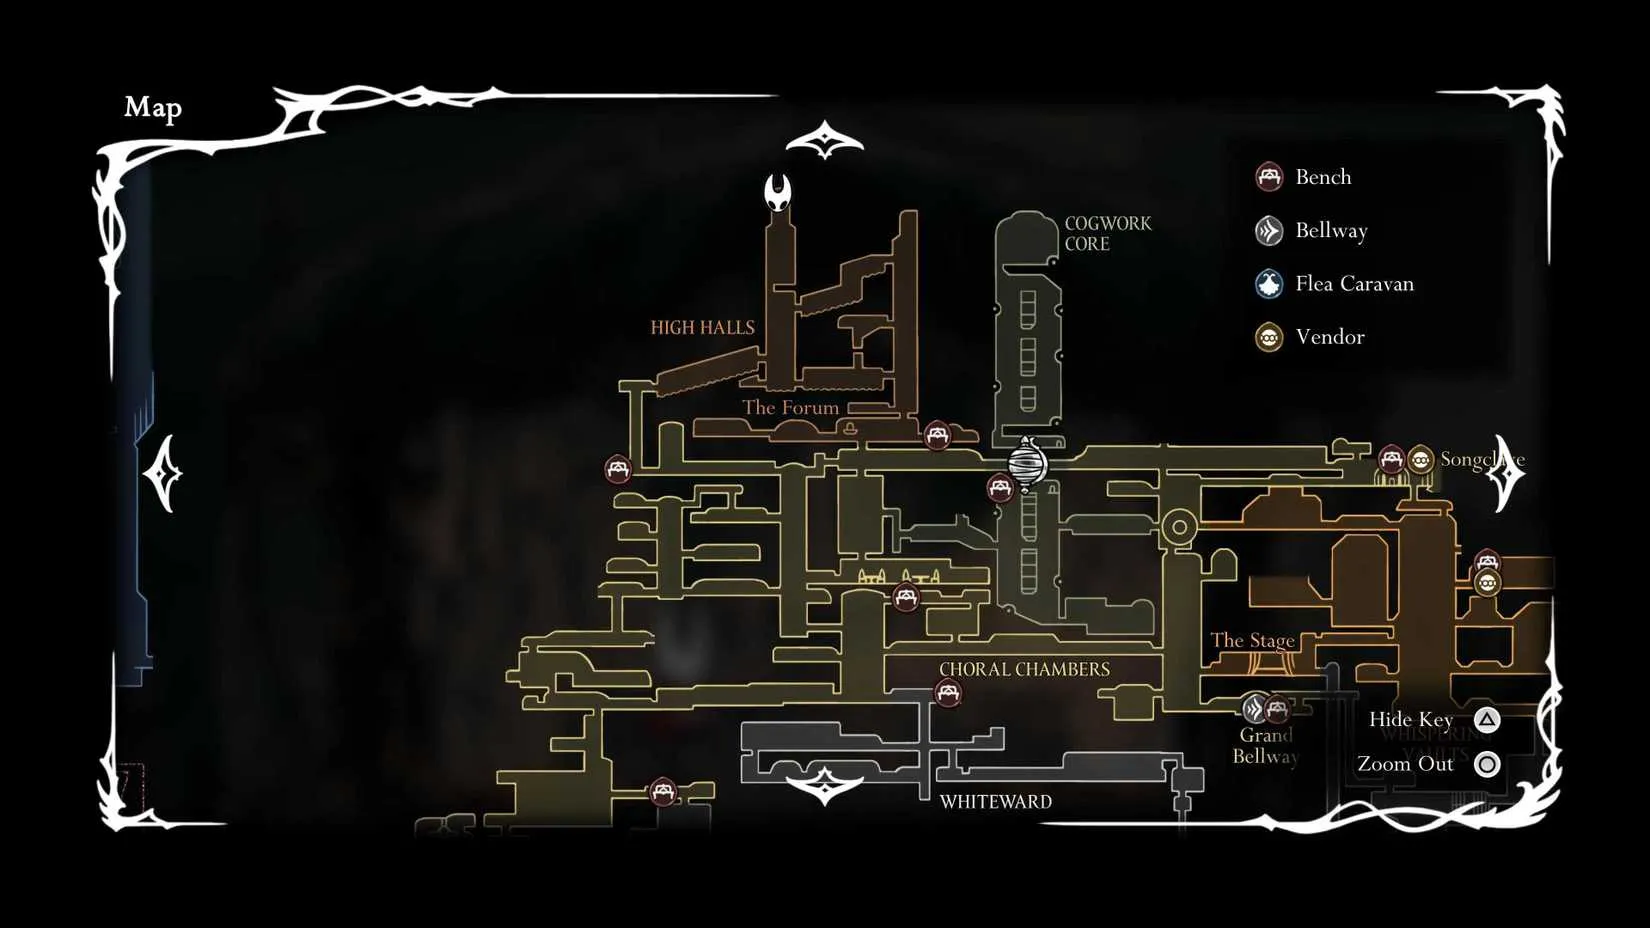
You reach the High Halls through the Choral Chambers. Exit out the top left side of the map, but don't bother unless you have the Clawline (grappling hook) ability. Trust me, you literally cannot explore this area without it. And if you want all the secrets, I'd also wait until you have the Faydown Cloak (double jump). I learned that the hard way.
High Halls Walkthrough + Secrets
After climbing the grappling hooks, you enter an area with a cascading stream running downward. Your goal is to go against the current. Stay out of the water by grappling and avoid enemies. The first foe is a sword-wielding bug called a Maestro with three little minions circling him. Jump attack between their gaps and leap over the minions he throws.
Next, you enter a room where you can either rise up via a rotating grapple or float down while popping into each room. The bottom room has a shard cluster—nothing special—so head up. You'll meet a floating enemy called a Minister. These are deadly and can deal two masks of damage if you get caught in their flurry. Use ranged tools if you have them, or aggro them, wait for their attack to end, then pogo a few times and repeat.
At the top, there's an exit that needs double jump. If you have it, check it out—it's a rough platforming sequence where you fight two Ministers while grappling up. Survive and you'll get a Spool Fragment. After that, drop back and head right to ascend further upstream. Fight another Maestro, but when two Ministers pop up, ignore them and gun for the exit on the right.
This takes you to an area where you can go up or down. Up leads to a chest full of Rosaries, so poke around quickly. Then carefully use your Drifter's Cloak to float down through gaps in the spikes below. Latch onto grapples and hang there to reveal gaps and gradually find a path down. You'll come to a room on the left—head inside.
Inside, there's a workbench where you can craft the Cogfly Tool if you have Craftmetal. This spawns little minions of your own in battle. It has a high shard cost but is very effective. After that, drop down the running waterfall and jump through to reveal a secret path. It has a shard cluster, but an enemy spawns in a tight space, so skip it if your health is low.
Head back out to the left and keep floating down. Avoid the enemy outside if you didn't kill them—they won't follow. Once you navigate the spikes, go into the left room to find a Frayed Rosary String in a giant baby stroller. Then head back out and down to find a Ventrica Station (unlock for 80 Rosaries) and a bench. You can also buy a map for 70 Rosaries.
The only unexplored area is the far end of the hall to your left. There's a shortcut back to the Choral Chamber, and further along is the battle arena from hell that stands between you and the Conductor's Melody. Good luck.
Preparing for the Conductor's Battle Arena
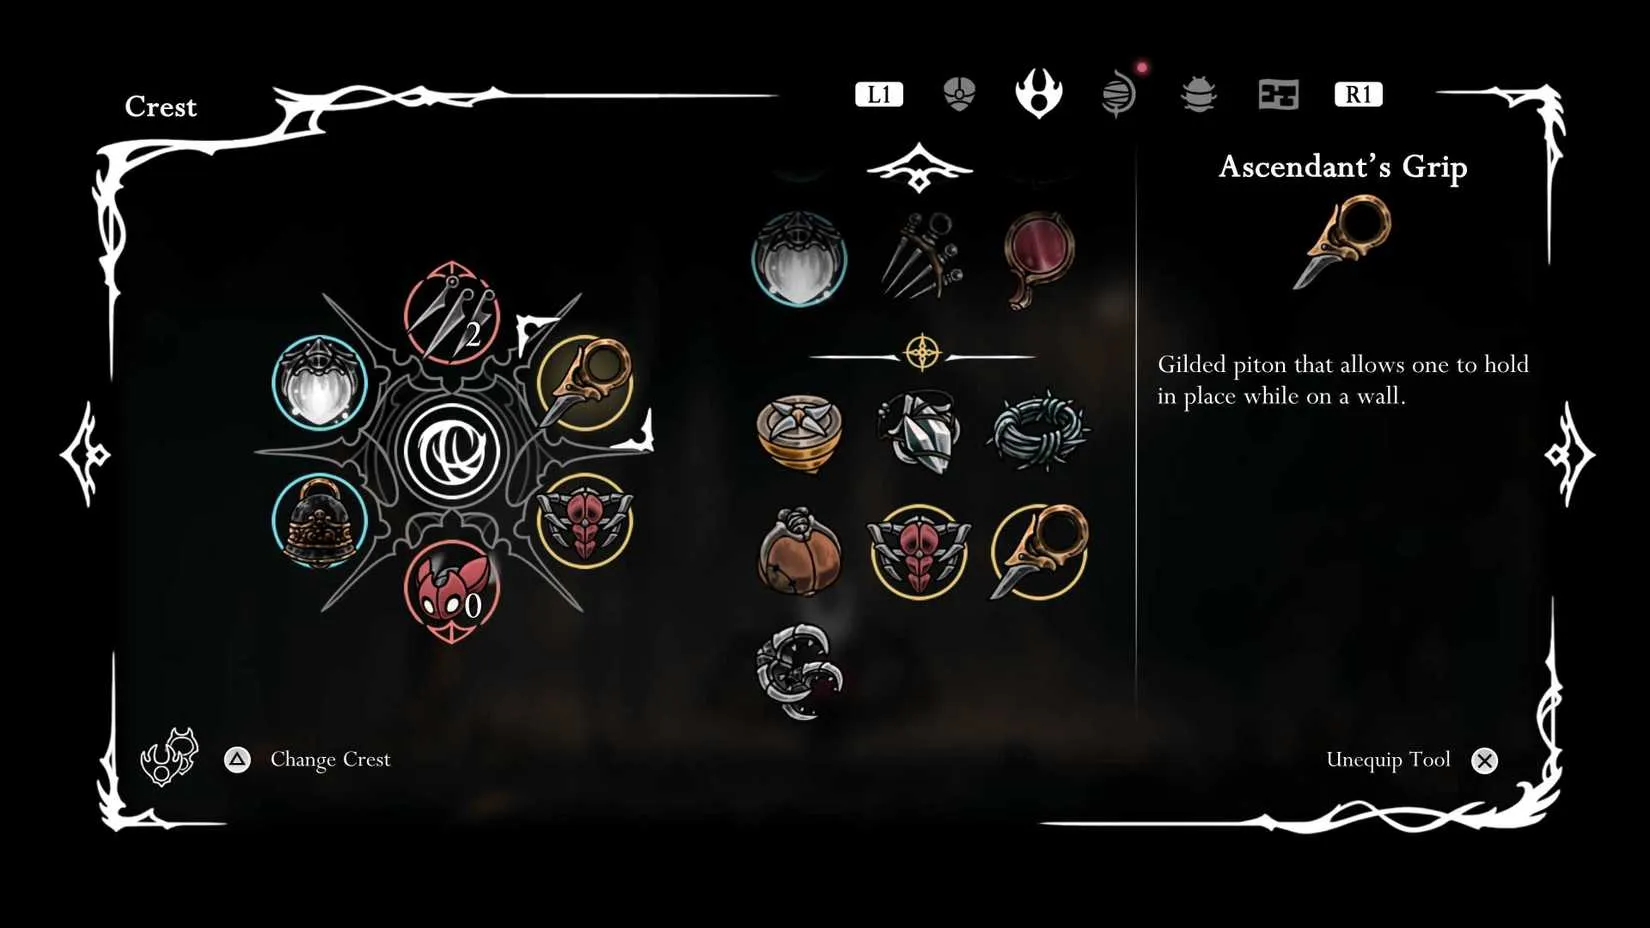
You could go in blind, but you'll have a bad time unless you prepare. None of this is essential, but it helps massively. Here's the Crest and Tool setup I used:
| Slot |
Tool |
Why |
| Crest |
Crest of the Reaper |
Passively collect silk more consistently → heal more often |
| Red |
Weavelight |
Synergy with Reaper for silk generation |
| Blue |
Warding Bell |
Safety net when you can't heal |
| Yellow |
Scuttlebrace |
Extra maneuverability (interchangeable) |
| Yellow |
Ascendant's Grip |
Key for final phase—hang on walls indefinitely |
| Yellow |
Threefold Pin |
Great for crowd control each wave |
| Yellow |
Cogfly |
Passive damage from safety toward the end |
The Ascendant's Grip is crucial. The mini-bosses can't hit you when you're hanging on the wall, giving you time to regroup and harpoon to safety.
How to Get the Conductor's Melody (Wave by Wave)
Okay, let's walk through this hell one wave at a time.
Wave 1: Envoy + two Reeds
Take out the flying enemies first by continuously pogoing in the air, then kill the Envoy between charge attacks. You can clear this without touching the ground.
Wave 2: Two Choristors
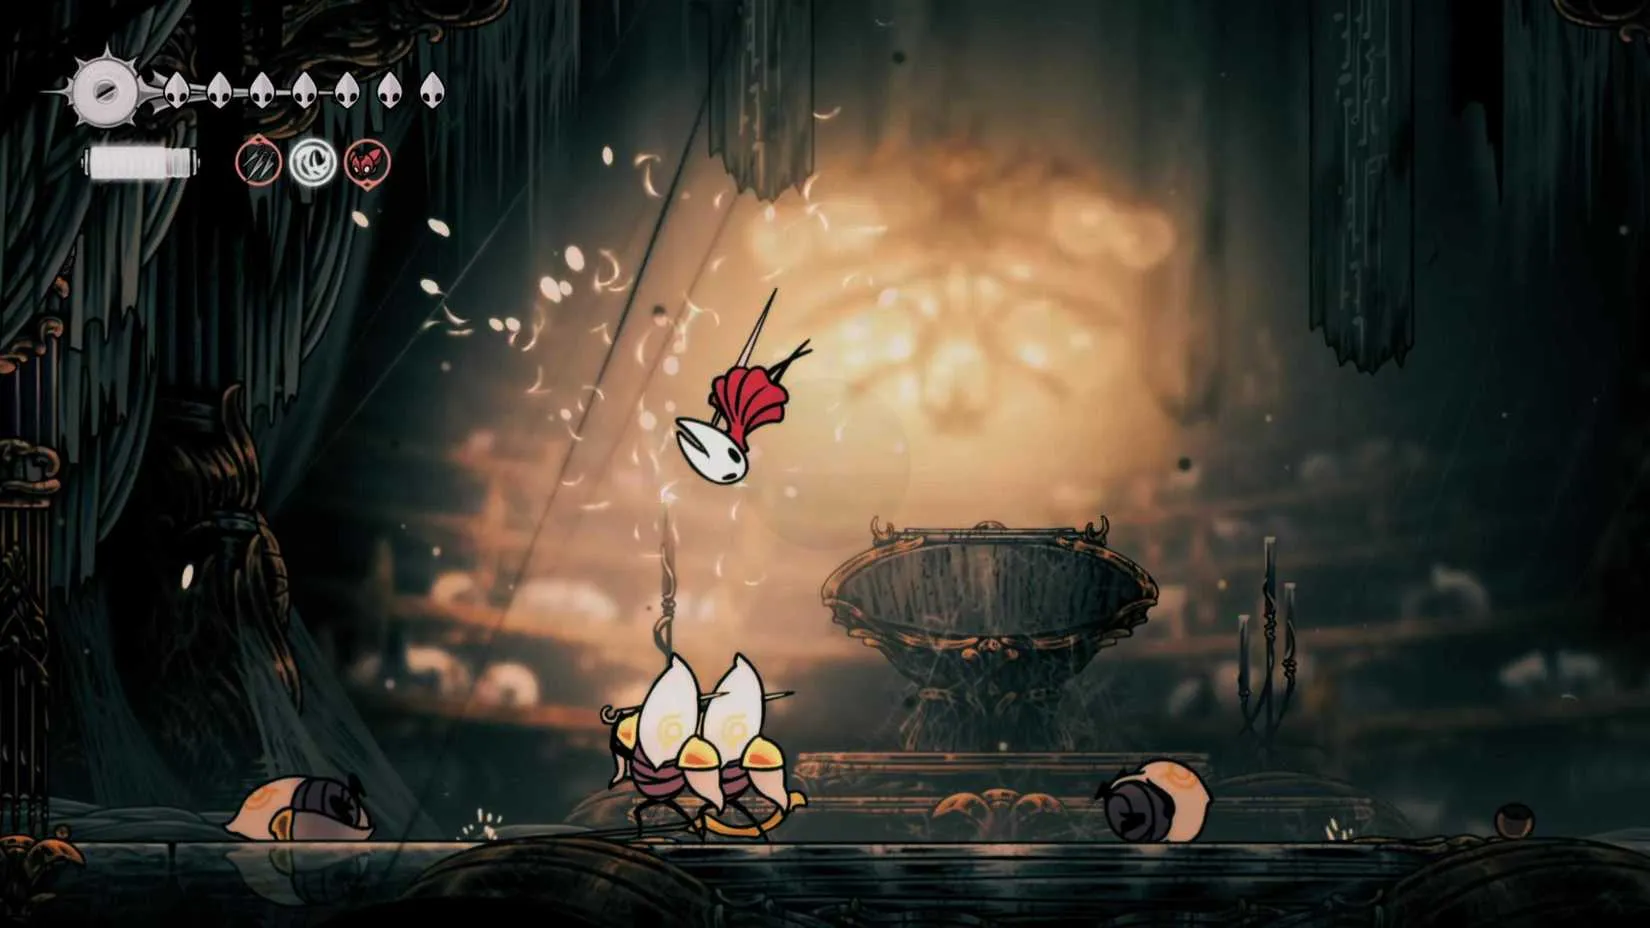
Their thread attack hits for two masks. Pogo when safe, but if they wind up for a stronger attack, dash across the room.
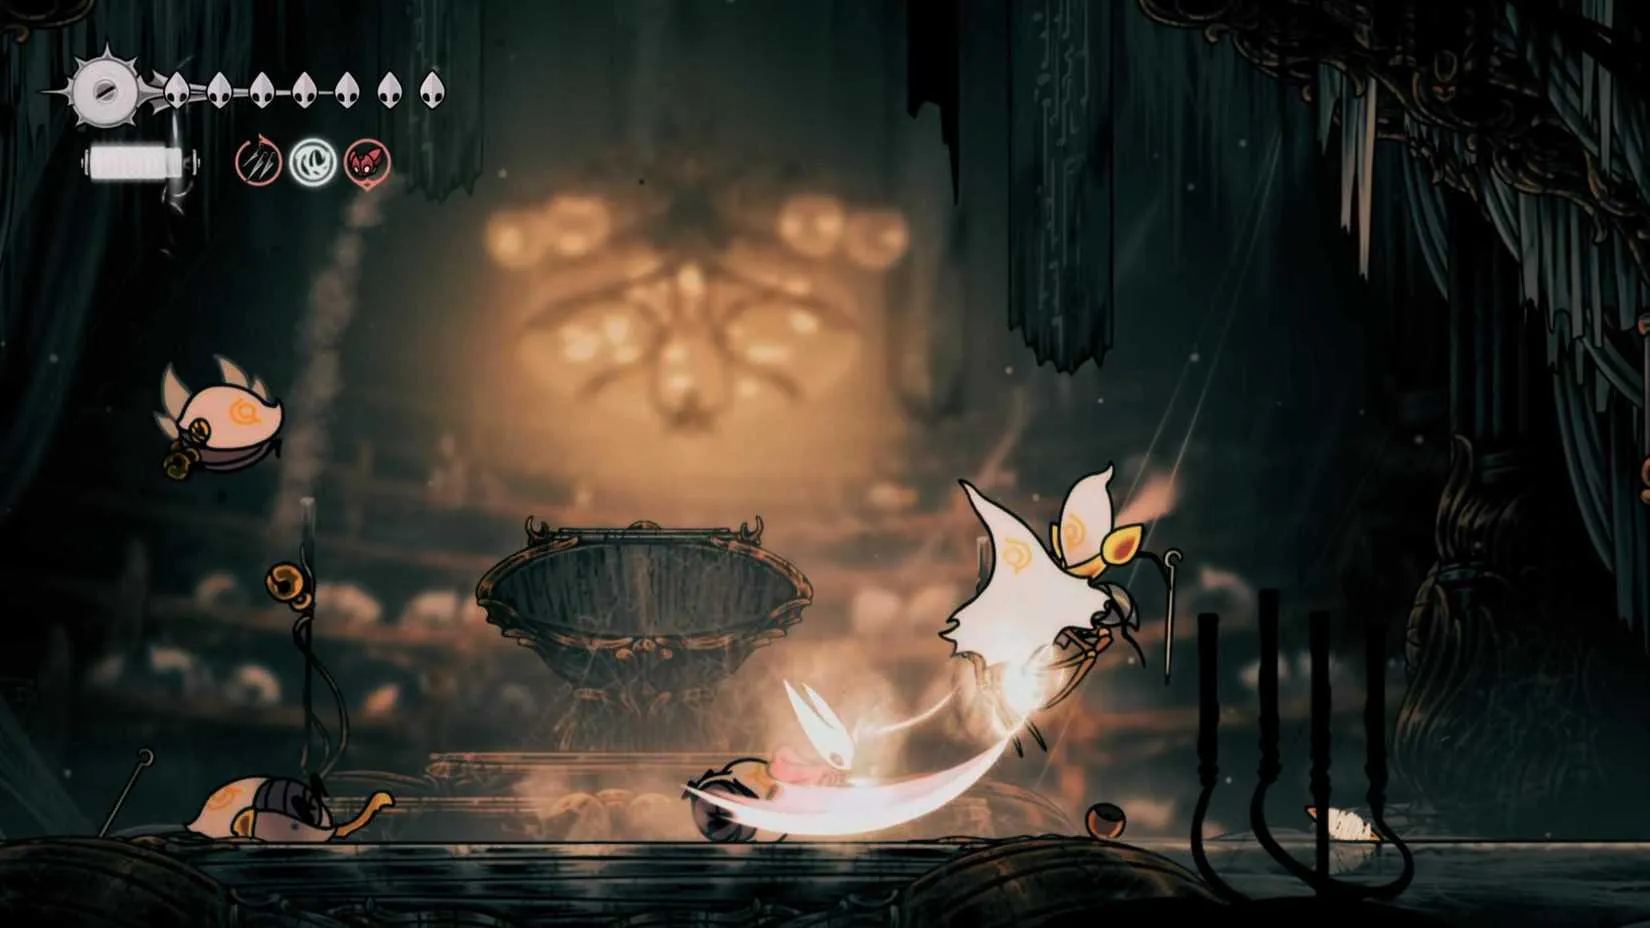
Wave 3: Reed, Bellbearer, Clawmaiden
Prioritize the Clawmaiden—it steals your silk and healing. Heal or use a silk skill immediately to avoid waste. Watch for bouncing bells from the Bellbearer.
Wave 4: Two Ministers
You know these from the High Halls, but now you have a solid floor. Take your time, carve openings, and don't pogo too much—they're more dangerous in the air. When one dies, a Clawmaiden appears. Use your silk and kill it fast.
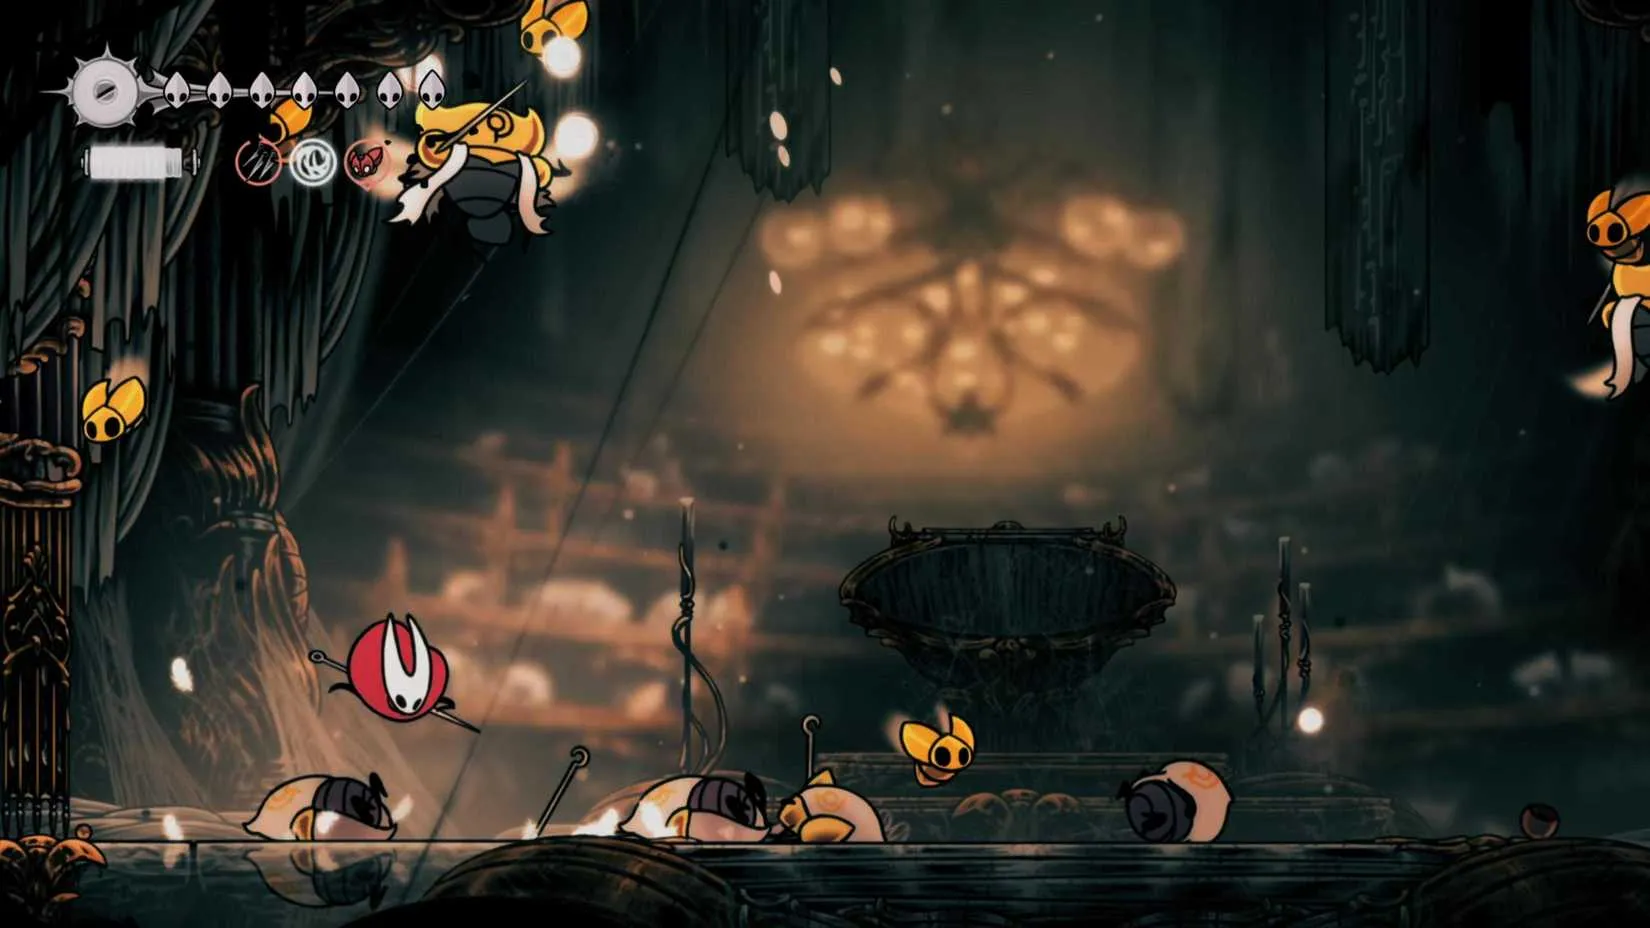
Wave 5: Two Maestro minions
Focus one and clear it fast while watching for Cogfly attacks from the other side. Then the leftover is easy.
Mini-Boss 1: Choir Clapper
This hulking beast has four attacks: a slam that creates a light bubble AOE, a slam that creates a pulsing ground wave, a standard slam, and a jumping slam. The standard slam is most dangerous—harpoon or sprint away immediately. Use walls to avoid the bubble, hop toward them for the ground pulse and get a few hits, and when they jump, dash below and hit from behind. Practice makes perfect.
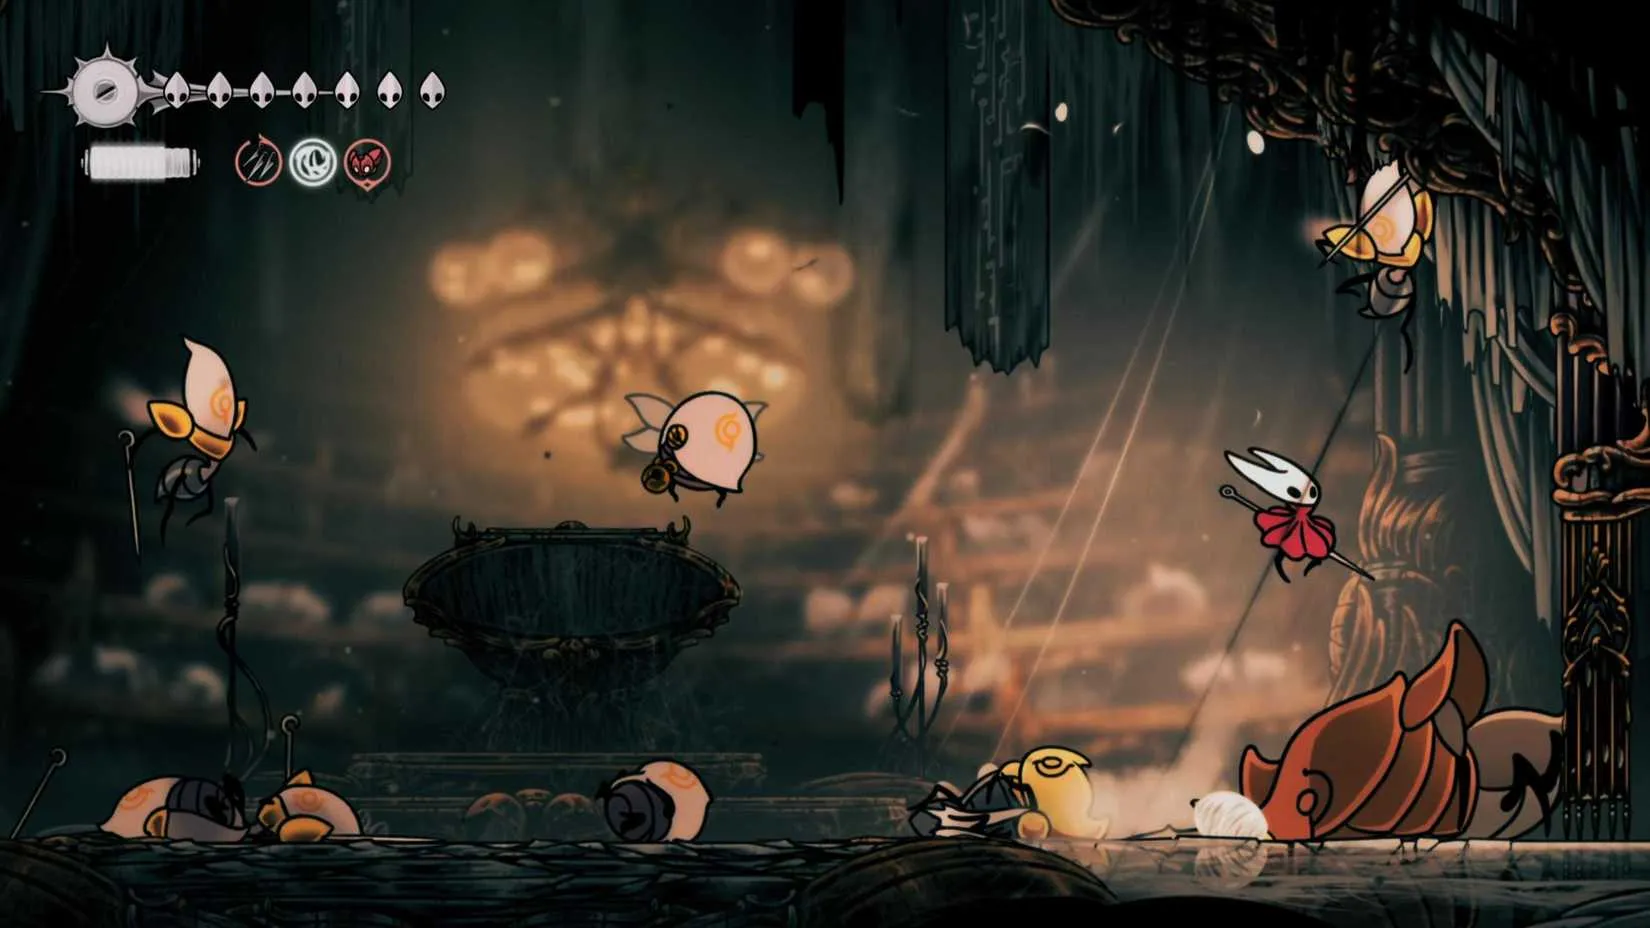
Wave 6: Two Reeds + one Bellbearer
Nothing new. Take the Bellbearer out first to avoid stray bells.
Wave 7: Two Bellbearers + one Reed
Same strategy. A Clawmaiden will pop in—kill it as fast as it appears.
Wave 8: Bellbearer + two Ministers
Take out the Bellbearer fast, then the Ministers are trivial on the ground.
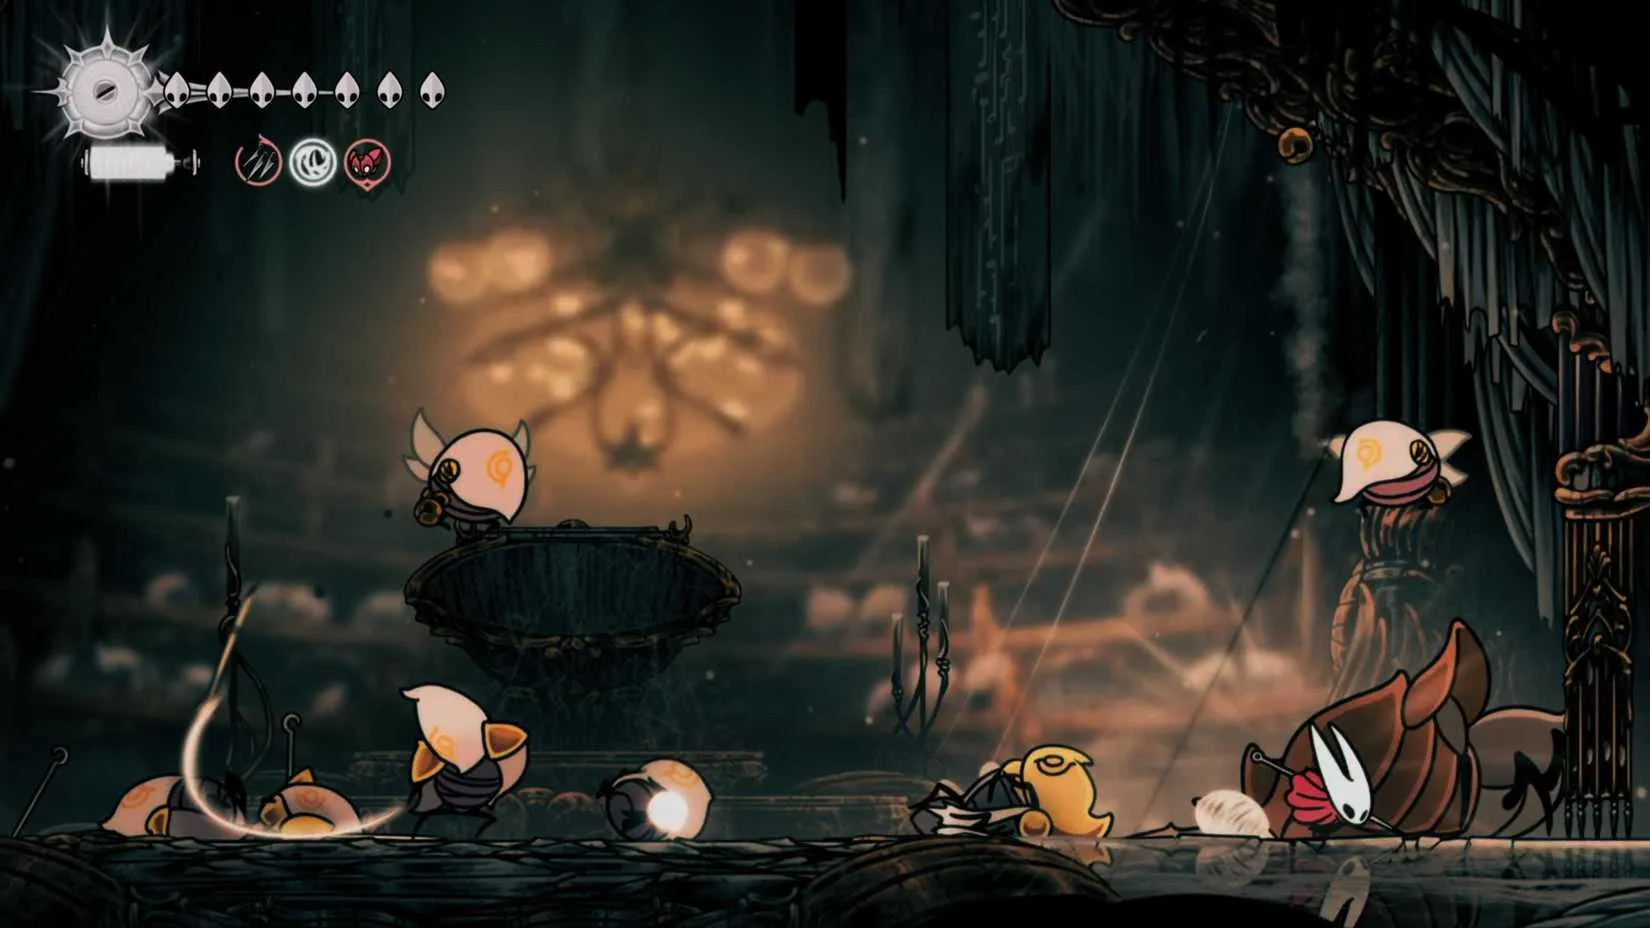
Wave 9: Reed + Maestro
Use your Threefold Pin to kill the Reed fast, then deal with the Cogfly enemy.
Final Phase: Two mini
check game prices
