I used to chase 10+ kill games in Free Fire BR, only to watch my rank points evaporate after a third-party ambush before the final zone. Then I studied OB55's ranked system and realized something crucial: survival time contributes 70% of rank-point gains. That single fact reshaped how I play. Now, during the Nine Tails Strike event and throughout Season 53, which runs from September 1 to November 1, 2026, I focus on controlled rotations and consistent Top 3 finishes. Grandmaster VI is the maximum rank, and while exact rank-point thresholds aren't publicly verifiable, the path is clear: survive first, fight smart second.
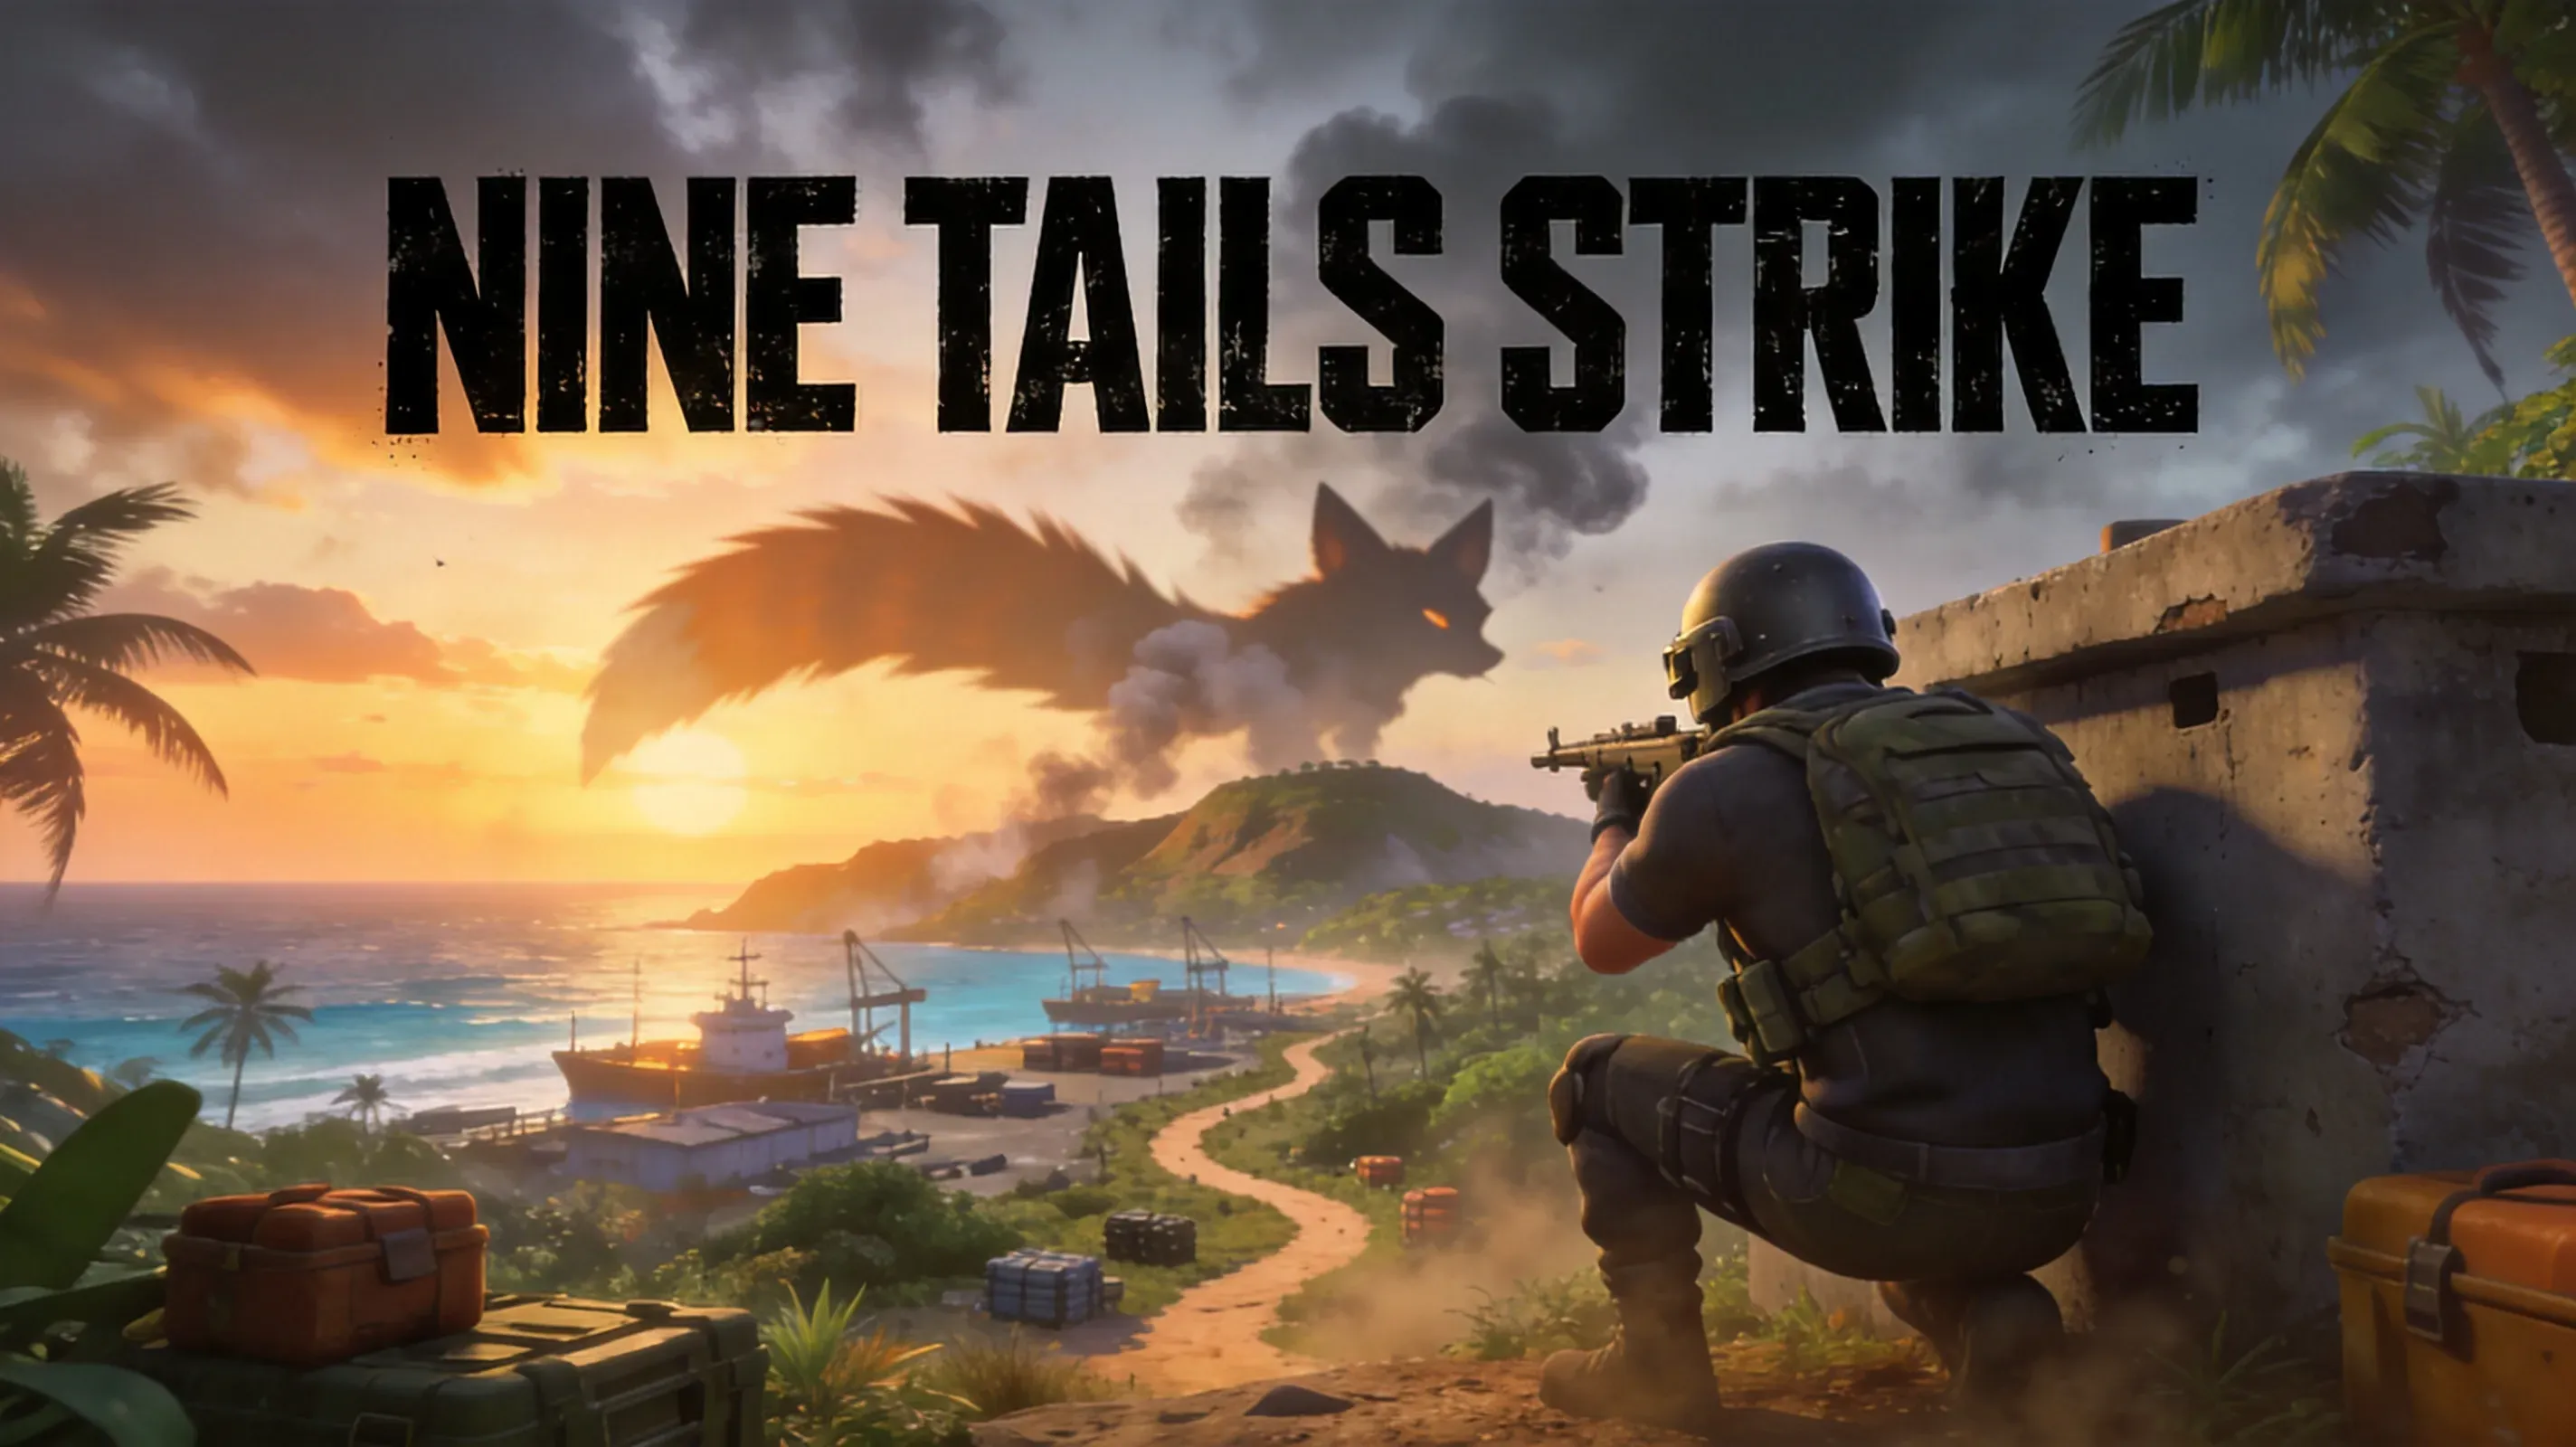
Before I queue, I check the official Free Fire homepage for last-minute OB55 hotfixes, Naruto event rules, and any changes to forced ejections. I build around my squad job instead of copying a random Sultan account setup. Here are the three role-based combinations I rotate between, matching the Skill Boost variant to my plan:
| Role |
Characters |
Skill Boost |
Purpose |
| Rusher |
Alok, Jota, Hayato, Orion |
Speed Boost |
Entry fights and sustain |
| Tank/anchor |
Chrono, Nairi, Awakened Andrew, Kassie |
— |
Durable Gloo Wall holds |
| Sniper |
Wukong, Rafael, Maro, Laura |
Skill Boost |
Stealthy M82B or Woodpecker pressure |
I pick one and stick with it for at least three matches. Changing too many variables makes it impossible to know what's working.
Landing & Loot Strategy for Consistent Early Survival
I skip central hot drops such as Peak, Clock Tower, and The Hub unless my squad is intentionally taking an early fight. Safer secondary choices include Hangar on Bermuda, Basecamp on Alpine, Bloomtown on Solara, and Santa Catarina on Kalahari — especially when they sit away from the flight path. I always mark a second landing location before jumping because Nine Tails Strike can hit the aircraft and force an early ejection.
My loot order is strict: secure a weapon first, then hunt Weapon Awakening Chips, Level 3 armor, and Ninjutsu Skill Cards such as Rasengan or Chidori. Chips found in Arsenals or Airdrops can awaken weapons like the Groza or MP40, granting permanent match-long stat boosts and unlimited ammo. I save FF Coins instead of buying low-priority attachments. I reserve them for Level 3 gear, 5+ late-game Gloo Walls, or the limited-stock AWM for 600 coins — only 3 AWM units are available per match. Some players collect limited-time ranked RP boost consumables from third-party stores to speed up a Grandmaster push, but survival decisions still matter far more than spending.
Zone Rotation & Combat Rules to Maximize Rank Points
I rotate early along the safe-zone edge once the next circle is known. Late movement becomes dangerous under current zone-damage scaling and exposes squads to sandwich plays. I use Moco, Clu, or a UAV to gather information before rotating, then claim high ground on Solara or Kalahari through zip-lines or Tatsuya's mobility. If vehicles are my squad's plan, Misha reduces vehicle damage taken and increases speed, while keeping a backup route prevents one blocked road from ending the game.
![Zone rotation map for OB55 ranked survival]()
I apply a simple fight filter: engage when I have cover, information, and at least one teammate able to trade damage; disengage when two of those advantages are missing. I carry Nairi for Gloo Wall recovery and keep an M82B or Skyler available for anti-Gloo pressure. If 2+ squad members are eliminated, I switch to passive mode, avoid unnecessary fights, and play the zone edge. Research guidance states that Top 3 guarantees positive RP even with low kill counts.
Squad Roles & Solo Queue Discipline
For squads, I assign one fragger, one support/sniper, and one medic before the drop. A medic using Dimitri or Kassie should preserve their life for revives, while teammates capture Reanimation Jutsu stone coffins or pool FF Coins for a Revival Card instead of waiting for a revival point. In solo queue, I announce rotations, mark enemies, and abandon a fight when teammates split by more than one compound. That last rule alone has saved me from countless third-party disasters.
Post-Match Optimization for Faster Climbs
After every match, I review three numbers: survival placement, elimination timing, and the zone where my rotation failed. A death before Top 10 usually points to landing or loot greed. A death between Top 10 and Top 3 often signals a late rotation or open-field crossing. I keep the loadout that produced stable placement for 3 matches, then change only one character, weapon, or drop variable so the result is measurable.
Finally, I track whether my RP loss came from a forced Nine Tails ejection, weak economy management, or a third-party during rotation. Season 53 rewards repeatable survival more reliably than highlight-reel aggression because survival time carries 70% of rank-point gains. No paid upgrade is required: disciplined edges, early information, 5+ Gloo Walls, and selective fights are my consistent route to Grandmaster VI. ️
While positioning and tactical discipline remain the true foundations of reaching Grandmaster, having quick access to essential character rosters, pet skills, or seasonal passes can give you more strategic flexibility between matches. If you plan to stock up on diamonds to expand your character pool or grab the latest pass, opting for a secure top-up service like the LootBar Store offers a reliable way to get the resources you need at competitive prices.
